Hot for Pink
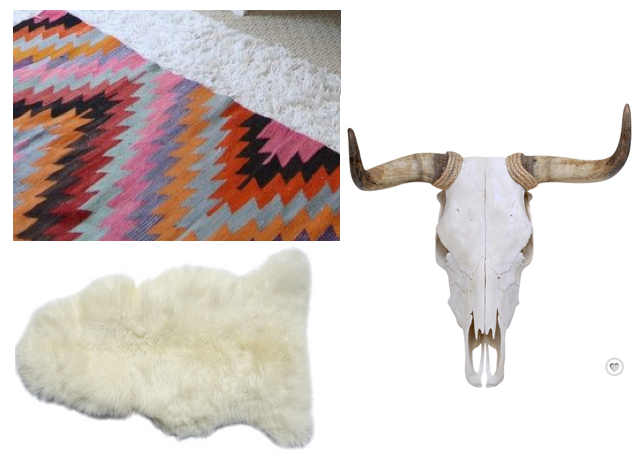
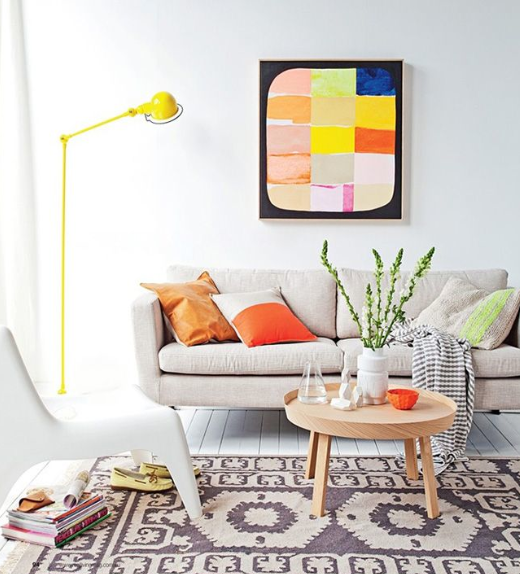
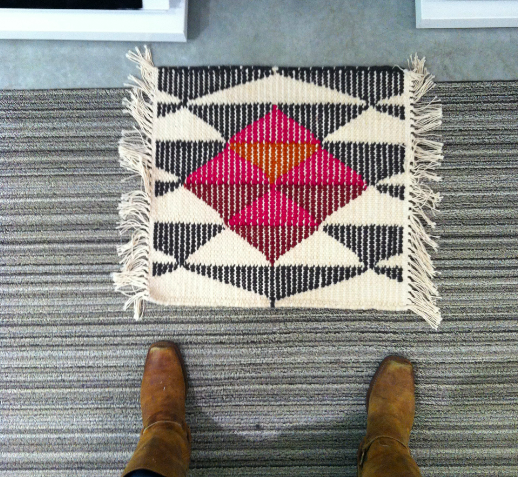
I was in New York over the weekend and of course snapping pics the entire time for inspiration. As I was browsing through them this morning, I saw a theme....PINK! Yes, pink. I've been so drawn to pink in all its shades for the last year or so. I think as women, we sometime have an aversion to pink because it seems like such a cliche, so overused in baby clothing or little girls rooms and we want to find other colors to define who we are. But, I think pink is making a very sophisticated come back and I for one love it. It's a mature shade of pink....like fushcia/magenta. It pairs beautifully with earth tones and muted neutrals to ground it. Leathers, sheep skin, on a white background where it can pop, with greys. You'll find these beautiful combinations in nature and ancient cultural art and clothing as well. See and Enjoy below! xoxo
How to create a picture wall
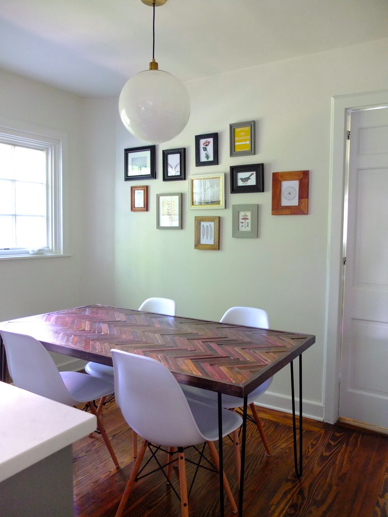
Hey all! Hope your day is off to a beautiful start. Today we're going to tackle the "how to's" of making a picture wall. I love me a picture wall. I create one with pretty much every job I do...because who doesn't love having art around for inspiration? To me, art puts the finishing touch on a space and art really has the power to bring a room to life. It adds depth, soul. How you do your art wall, will be based a lot on your preferences and budget. I LOVE original art, and have a handful of pieces around my home that mean so much to me, but it can be pricey. They are well worth every penny when you fall hard for a piece, but these tend to be special pieces that you have just a few of around the house...or that you collect over a number of years. So, how can you create that art wall NOW, without breaking the bank? Here's how....
Step 1. It all starts with frames.
What frames you want really depend on your style. You can mix and match all different types of frames for more of a bohemian chic look, or you can go with all one style & color in a variety of sizes for a clean, modern look.
Some great places to get your mix and match style frames from on a budget are, Home Goods, TJ Maxx, Marshalls & Antique shops.
A great place to get your single style simple, black, white or wood frames in a variety of sizes is Ikea.
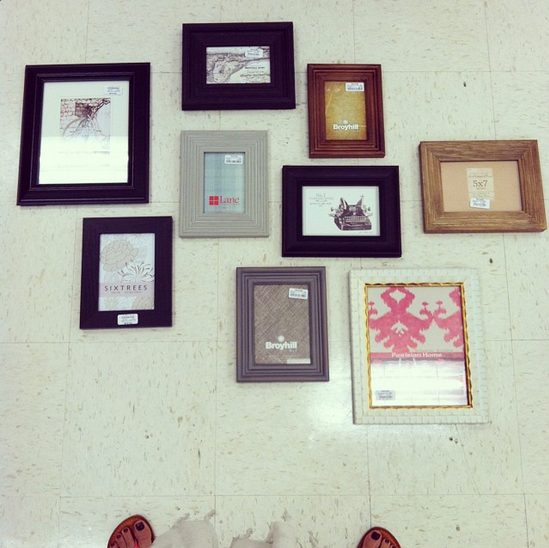
When selecting your frames, you'll want to get all the frames you like and begin to lay them out on the FLOOR, yes, the floor to see how they play together. You might love one, but it doesn't go well with the rest, or you'll have too many vertical frames and not enough horizontal, etc. This is more of a feeling thing rather than a science. You just have to play until it feels right. Also, in order to make this step effective, you'll want to go to the store having measured the wall that you want the picture cluster to go on, so you know the general size and how many frames can fit in there.
Step 2. Find your art.
This is the fun part! You can get art from so many, many places.
Some great places to get free or affordable art are:
a. Your kids! Childrens are is so beautiful. You'll have to keep your eye out for that special piece, yes, but overall childrens art is naturally amazing because they are so connected and pure and just paint what they love.
b. Art books. Many of us have large art books around the house of artists we love. Rather then dust it off to look at it every few months or years, why not cut out one of the pieces you love the most from the book and frame it?
c. Free Art for download. Did you know that there is tons of high quality beautiful art that you can download for free online? I didn't either, until recently. A few great sites I found are.
Vintage Printables - this one is the coolest, in my opinion....:)
Step 3. Finalize your layout
Yes, we did lay these out on the floor at the store already, but that step was just to make sure the family of frames played well together. This step is to solidify your plan for the wall. We don't want to make a million holes in the wall trying to figure out what's right. So, next you'll lay the art out for a final decision on how it will be placed on the wall. We are looking for an perfectly, imperfect cluster. (as I like to call it) Once you have them in the order you like best, take a quick cell phone shot of the frames, because you'll need it for step #4.
Step 4. Installation!
After you've got all your art together and framed it's time for the best step of all, installation! This is when you'll need to reference that cell phone picture you took in step #3. I like to start with the bottom-middle photo and go out from there. You may want/need to make some tweaks to your earlier plan, so stay open and have fun!
If you found this post helpful, please share it with your friends!
Talk to you next week.
xoxo


